Bring a touch of nature to your crochet collection with this Amigurumi Pine Tree pattern! Whether you’re crafting for festive decor, woodland-themed displays, or simply love cozy handmade creations, this free pattern lets you stitch up a charming little pine tree full of texture and personality. With its layered branches, sturdy trunk, and timeless evergreen appeal, this amigurumi tree is a delightful addition to any seasonal or rustic setup. Perfect for winter scenes, fairy-tale landscapes, or thoughtful gifts, this pine tree adds a little handmade magic to your space.
Designed for customization, this pattern allows you to play with different shades of green, add embroidered snow accents, or even decorate your tree with tiny ornaments for a festive touch! Whether displayed as a standalone nature-inspired piece, paired with other woodland creatures, or crafted in a set to create an enchanting forest, this amigurumi pine tree is a charming project that brings the beauty of the outdoors—one stitch at a time! 🌲🧶✨
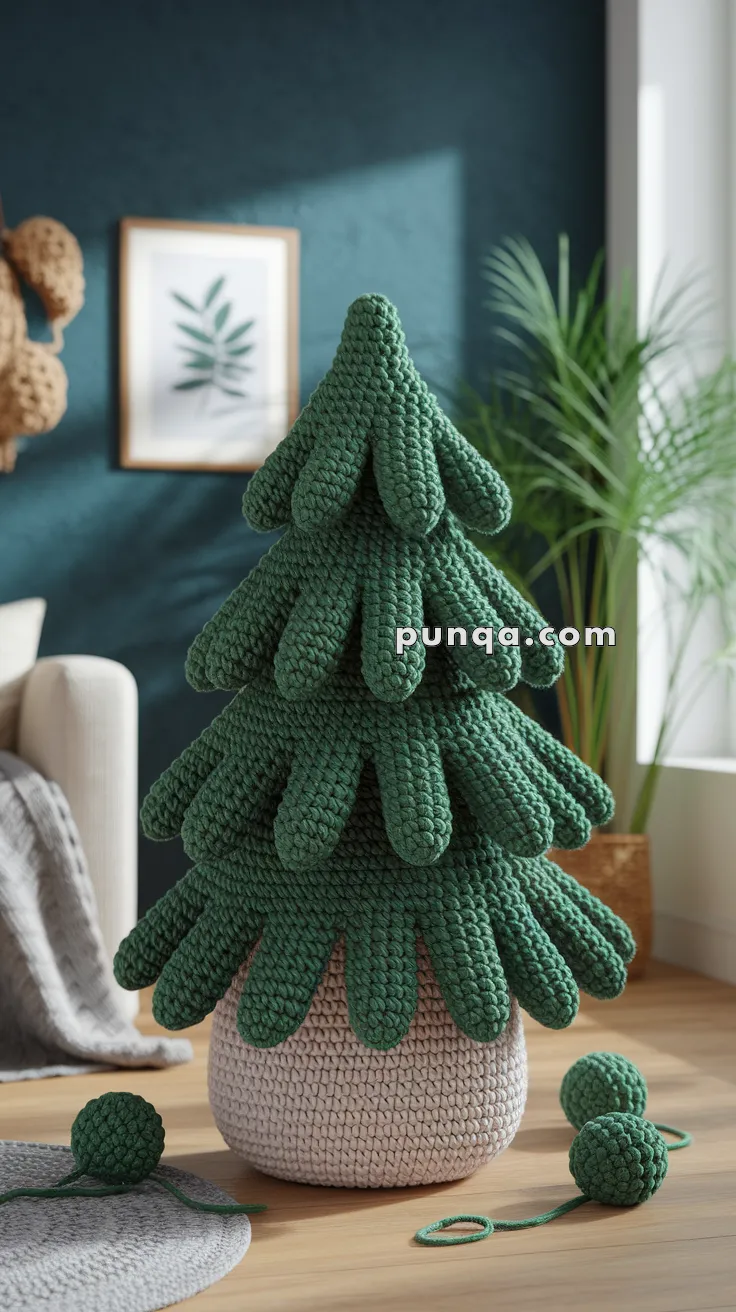
🌲 Amigurumi Pine Tree – FREE Crochet Pattern
Create a soft, sculptural pine tree that adds cozy woodland vibes to your home! With its layered “finger-like” branches and chunky textured body, this amigurumi pine tree makes an adorable holiday decoration or whimsical year-round forest companion.
✨ Skill Level
Intermediate – Requires shaping, working in rounds, attaching multiple layered parts, and firm stuffing.
📏 Finished Size
Approx. 12–15 inches (30–38 cm) tall using super bulky velvet yarn and a 5.0–6.0 mm hook.
🧶 Materials
-
Super bulky (velvet or chenille) yarn in:
-
Green (tree branches)
-
Light tan or cream (base/pot)
-
-
Crochet hook: 6.0 mm
-
Polyfill stuffing
-
Tapestry needle
-
Stitch marker
-
Cardboard or plastic disk for base (optional)
🧵 Abbreviations (US Terms)
MR – Magic Ring
sc – Single Crochet
inc – Increase (2 sc in one stitch)
dec – Decrease (sc two stitches together)
sl st – Slip Stitch
ch – Chain
FO – Fasten Off
BLO – Back Loop Only
🪴 Pot / Tree Base (Cream/Tan Yarn)
-
MR, 6 sc
-
inc x6 (12)
-
(1 sc, inc) x6 (18)
-
(2 sc, inc) x6 (24)
-
(3 sc, inc) x6 (30)
-
(4 sc, inc) x6 (36)
-
(5 sc, inc) x6 (42)
-
BLO sc around (42) – this forms the pot wall edge
9–15. sc around (42) -
(5 sc, dec) x6 (36)
-
(4 sc, dec) x6 (30)
-
(3 sc, dec) x6 (24)
-
(2 sc, dec) x6 (18)
Stuff well and insert a cardboard circle at the bottom if desired for support.
FO, leave a long tail to sew if needed.
🌲 Tree Body Core (Green Yarn)
Start working from the top tip of the tree:
-
MR, 6 sc
-
inc x6 (12)
-
(1 sc, inc) x6 (18)
-
(2 sc, inc) x6 (24)
-
(3 sc, inc) x6 (30)
6–20. sc around (30) -
(4 sc, inc) x6 (36)
22–30. sc around (36) -
(5 sc, inc) x6 (42)
32–40. sc around (42)
FO. Stuff firmly and sew bottom to the center of the pot.
🌿 Pine Branch Loops (Make 4 layers of 8–10 loops each)
Each “finger” loop branch (Make ~32 total):
-
Ch 14
-
sc in 2nd ch from hook and across (13)
-
Continue around with sc evenly to shape tip
-
FO and leave a long tail for sewing
Assembly:
-
Begin attaching loops in rings around the tree, starting from the bottom up
-
Place the longest loops near the bottom, working upward with slightly shorter loops
-
Sew loops flat to the body at their base with firm whipstitches
-
Overlap each ring slightly over the one below to mimic natural pine layers
🧩 Optional: Pom-Pom Ornaments
Make mini yarn balls or attach pre-made pom-poms. Secure to branches with sewing or hot glue.
✂️ Finishing Touches
-
Add texture by pulling out and curling the branch tips slightly
-
Adjust layering and spacing for natural fullness
-
Gently shape tree body if needed using stuffing manipulation
💡 Customization Ideas
-
Add lights, beads, or stars to decorate as a holiday tree
-
Make a trio in different sizes for a winter forest scene
-
Use brown yarn and widen the base to turn it into a woodland gnome home
Bring a slice of the forest into your cozy space with this soft and sculptural pine tree—it’s perfect for rustic décor, seasonal charm, or simply celebrating nature year-round! 🌲🧶