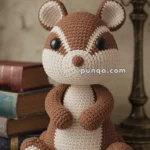
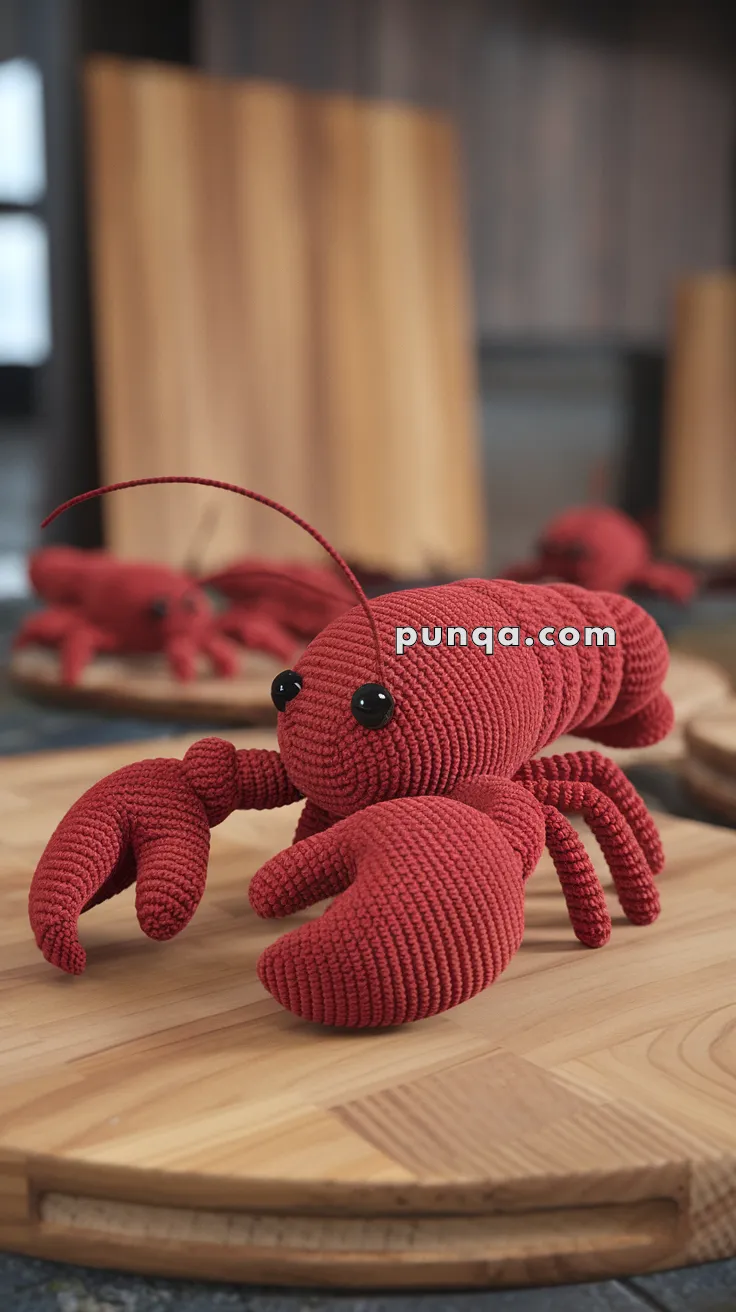
Bring the quirky charm of a Lobster to life with this Amigurumi Lobster crochet pattern! 🦞✨ With its detailed claws, segmented body, and playful antennae, this design captures the essence of this fascinating sea creature in yarn form. Whether you’re crafting for an ocean-inspired décor piece, a heartfelt gift, or simply love marine-themed amigurumi, this FREE pattern is a fantastic addition to your collection.
Designed for intermediate crocheters, this pattern allows for customization in claw shapes, body textures, and even tiny accessories like embroidered details or a miniature coral reef setting to enhance its personality. Choose classic reds and oranges for a realistic look or experiment with bold hues for a whimsical twist! Whether displayed as part of an underwater setup or gifted to a fellow crochet enthusiast, this amigurumi lobster is sure to impress.
Grab your hook, select your favorite yarn, and let’s bring this delightful crustacean to life—one stitch at a time! 🧶✨
🦞 Amigurumi Lobster Crochet Pattern
Bring the ocean into your home with this adorable crocheted lobster! With chunky claws, a segmented tail, curved legs, and long antennae, this plush sea creature is a true showstopper. Perfect for ocean-themed décor, toys, or gifts for seafood lovers.
✨ Skill Level
Intermediate – involves shaping, claws, segmentation, and some sewing.
📏 Finished Size
Approx. 8–10 in (20–25 cm) long when using worsted weight yarn and a 3.5 mm hook.
🧶 Materials
-
Worsted weight yarn in:
-
Red (main body, claws, legs, tail, antennae)
-
Black (embroidery or 10–12 mm safety eyes)
-
-
Crochet hook: 3.5 mm
-
Polyester fiberfill stuffing
-
Tapestry needle
-
Stitch markers
-
Thin wire or pipe cleaners (for antennae, optional but recommended)
🧵 Abbreviations (US Terms)
MR – Magic Ring
sc – Single Crochet
inc – Increase (2 sc in one stitch)
dec – Decrease (sc2tog)
ch – Chain
sl st – Slip Stitch
FO – Fasten Off
🦞 Pattern Instructions
Head & Main Body
With red yarn:
-
MR, 6 sc (6)
-
inc ×6 (12)
-
(1 sc, inc) ×6 (18)
-
(2 sc, inc) ×6 (24)
-
(3 sc, inc) ×6 (30)
6–10. sc around (30) -
(3 sc, dec) ×6 (24)
12–14. sc around (24)
👉 Place safety eyes between Rounds 7–8, ~6 sts apart. -
(2 sc, dec) ×6 (18)
16–17. sc around (18) -
(1 sc, dec) ×6 (12)
👉 Stuff firmly.
19–20. sc around (12) -
FO. This is the front head/body section.
Tail Segments (Make 4)
Each worked separately, then sewn in line:
Segment 1 (closest to body):
-
MR, 6 sc (6)
-
inc ×6 (12)
3–4. sc around (12)
Segment 2:
-
MR, 6 sc (6)
-
(1 sc, inc) ×6 (18)
3–4. sc around (18)
Segment 3:
-
MR, 6 sc (6)
-
(2 sc, inc) ×6 (24)
3–5. sc around (24)
Segment 4 (tail fin):
-
MR, 6 sc (6)
-
(sc, inc) ×6 (18)
3–4. sc around (18) -
Flatten and FO.
👉 Add a small frill edge if desired: (sc, ch2, sl st in next st) around.
Claws (Make 2)
Large Half:
-
MR, 6 sc (6)
-
inc ×6 (12)
-
(1 sc, inc) ×6 (18)
4–6. sc around (18) -
(1 sc, dec) ×6 (12)
FO.
Small Half:
-
MR, 6 sc (6)
-
inc ×6 (12)
3–4. sc around (12) -
(1 sc, dec) ×6 (8)
FO.
👉 Sew small half to the side of large half at an angle. Lightly stuff before closing.
Legs (Make 6)
-
MR, 5 sc (5)
2–6. sc around (5)
FO, leave a tail. Lightly stuff or leave unstuffed.
👉 Attach 3 legs to each side of body (just behind claws).
Antennae (Make 2)
Option 1 (soft): ch 25, sl st back across, FO.
Option 2 (firm, like in photo): Wrap red yarn around a thin wire or pipe cleaner ~5–6 in long. FO ends neatly.
Attach above eyes.
🧵 Assembly
-
Sew tail segments one after another to the back of the body.
-
Sew claws to the sides of body, just below eyes.
-
Attach 3 legs to each side. Curve outward slightly.
-
Insert and secure antennae above the eyes.
-
Adjust stuffing to create a firm but slightly curved body shape.
🌟 Finishing Touches
-
Embroider a tiny straight line mouth if desired.
-
Curve claws slightly inward for a natural look.
-
Use pins to shape the lobster in a gentle arc before final sewing.
🦞 Your Lobster is Ready!
Now you have a chunky-clawed, segmented-tail lobster that looks just like the one in the photo. This little sea friend makes a wonderful display, toy, or quirky handmade gift.