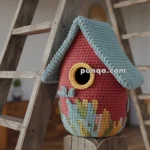
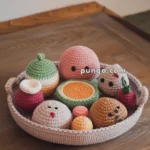
Creating amigurumi flower pots is such a delightful and rewarding experience! 🌸 If you’re not familiar, amigurumi is the Japanese art of crocheting or knitting small, stuffed yarn creatures, and in this case, we’re crafting charming little flower pots. The joy of amigurumi lies in its whimsical nature and the endless possibilities it offers. Whether you’re a seasoned crocheter or just starting out, making these adorable floral creations brings smiles and a sense of accomplishment. The best part? Unlike real flowers, these beauties never wilt and can brighten any room all year round! 🌼
When I embark on designing an amigurumi flower pot pattern, it feels like a creative adventure. I start by choosing vibrant yarn colors that mimic the lively hues of nature. The process begins with crocheting the pot itself, typically in a sturdy brown or terracotta shade to resemble a real flower pot. Then, I move on to stitching the flowers, which is where the magic truly happens! Each petal and leaf is lovingly crafted with attention to detail, and I often like to add a little face or an unexpected twist to give the flowers personality. It’s such a joyful journey from a ball of yarn to a finished, cheerful amigurumi flower pot, and I can’t help but smile every time I see the final product! 🌻
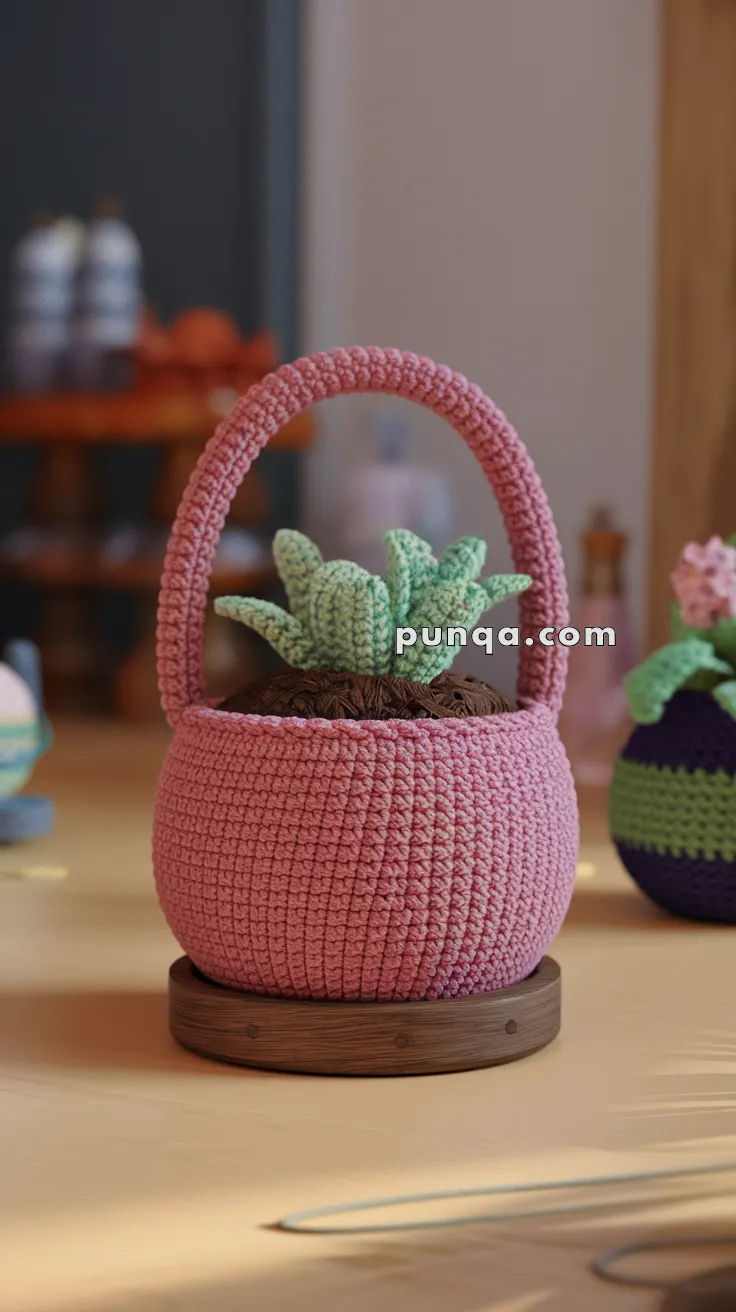
🌸 Amigurumi Flower Pot With Handle Crochet Pattern
Bring a touch of handmade greenery into your space with this cute amigurumi flower pot! It features a round base, playful pink basket with a handle, and a cheerful succulent plant sprouting from the top—no watering required!
✨ Skill Level
Beginner to Intermediate – Basic shaping, crocheting in the round, and assembling multiple parts.
📏 Finished Size
Approximately 5–7 inches (12–18 cm) tall using worsted weight yarn and a 3.5 mm crochet hook.
🧶 Materials
-
Yarn (Worsted Weight):
-
Pink (Pot & Handle)
-
Brown (Soil)
-
Green (Succulent Leaves)
-
-
Crochet hook: 3.5 mm
-
Tapestry needle
-
Stitch marker
-
Polyfill stuffing
-
Optional: cardboard circle for flat pot base stability
🧵 Abbreviations (US Terms)
MR – Magic Ring
sc – Single Crochet
inc – Increase
dec – Decrease
sl st – Slip Stitch
ch – Chain
FO – Fasten Off
BLO – Back Loop Only
🪴 Pot Base and Body
With pink yarn:
-
MR, 6 sc (6)
-
inc x6 (12)
-
(1 sc, inc) x6 (18)
-
(2 sc, inc) x6 (24)
-
(3 sc, inc) x6 (30)
-
(4 sc, inc) x6 (36)
-
(5 sc, inc) x6 (42)
-
(6 sc, inc) x6 (48)
-
BLO – sc around (48)
10–26. sc around (48) -
sl st to join, FO and weave in ends
(Optional: Insert a cardboard circle at the bottom before stuffing for a flat base.)
🍫 Soil Top
With brown yarn:
-
MR, 6 sc (6)
-
inc x6 (12)
-
(1 sc, inc) x6 (18)
-
(2 sc, inc) x6 (24)
-
(3 sc, inc) x6 (30)
-
(4 sc, inc) x6 (36)
-
(5 sc, inc) x6 (42)
-
(6 sc, inc) x6 (48)
-
sc around (48), FO and leave long tail
Stuff the pot, sew the soil on top
🌱 Succulent Leaves (Make 8–10)
With green yarn:
-
ch 9
-
Starting in 2nd ch from hook: sc 7, 3 sc in last, rotate and continue on other side of chain: sc 7 (17)
-
FO, leave long tail for sewing
Sew leaves in a circular rosette formation at the center of the soil top.
🧺 Handle
With pink yarn:
-
ch 50 (or longer for larger handle)
-
Row 1: sc in 2nd ch from hook and across (49)
-
Row 2: turn, sc across (49)
FO and sew ends inside opposite sides of the pot.
✂️ Finishing Touches
-
Weave in all ends
-
Gently shape the pot and leaves
-
Optionally brush the succulent tips for a fuzzy effect
-
Display on a wooden stand or gift it with a handmade tag
💡 Customization Ideas
-
Make the pot in pastel or ombré colors for spring decor
-
Add embroidered eyes and a smile for a kawaii plant friend
-
Use the pattern to create a set of mini potted succulents
This cheerful amigurumi flower pot adds cozy charm wherever it lands—perfect for desks, shelves, or gifting! 🌿🪴✨