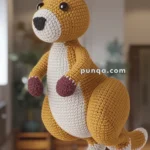
Oh, let me tell you about the delightful world of amigurumi, particularly the adorable chubby koala pattern that has captured many hearts! 🐨 There’s something so enchanting about crafting these little bundles of joy. What draws me in every time is the endless creativity and cuteness involved in making these plush toys. Whether you’re a seasoned crocheter or a complete beginner, the journey of creating a chubby koala is filled with fun and whimsy. The appeal lies in watching a simple skein of yarn transform into a cuddly companion, ready to bring smiles to anyone who lays eyes on it.
The process is as satisfying as it is straightforward, starting with selecting the perfect soft yarn to mimic the koala’s fluffy texture. I love how every stitch is an opportunity to bring this creature to life, beginning with the body, then moving on to those irresistibly chubby cheeks and big, lovable ears. 🧶 The pattern typically involves basic crochet stitches, making it accessible for most skill levels. It’s such a joy to see the character come together with each pass of the hook. And don’t even get me started on the tiny details, like the nose and eyes, which add personality and charm. The end result? A super cute little koala that’s as huggable as it is fun to make!
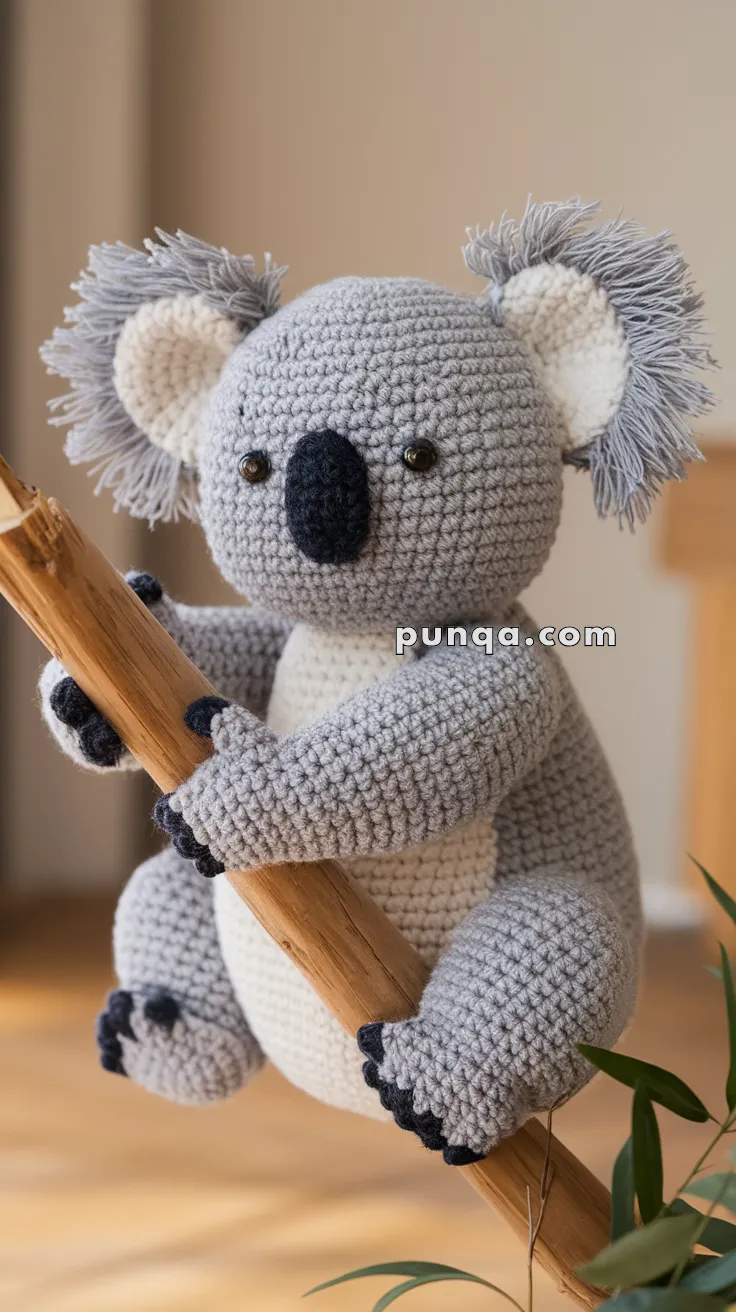
🐨 Climbing Koala Amigurumi Pattern
🧶 Skill Level: Intermediate
📏 Approx. Size: 25 cm (10″) tall
🧵 Materials
-
Yarn (Worsted weight):
-
Light gray (main body)
-
Cream or off-white (belly and ear centers)
-
Black (nose and claws)
-
-
3.0 mm crochet hook
-
Safety eyes (9 mm or 10 mm)
-
Polyester fiberfill stuffing
-
Stitch markers, yarn needle, scissors
-
Optional: wooden stick or dowel for display
🪡 Abbreviations (US Terms)
-
MR – Magic Ring
-
sc – Single Crochet
-
inc – Increase (2 sc in same st)
-
dec – Decrease (sc2tog)
-
st(s) – Stitch(es)
-
sl st – Slip Stitch
-
FO – Fasten Off
-
BLO – Back Loop Only
🧠 Head
With light gray:
-
MR, 6 sc
-
inc x6 (12)
-
[sc, inc] x6 (18)
-
[2 sc, inc] x6 (24)
-
[3 sc, inc] x6 (30)
-
[4 sc, inc] x6 (36)
-
[5 sc, inc] x6 (42)
8–16. sc around (42) -
[5 sc, dec] x6 (36)
-
[4 sc, dec] x6 (30)
Insert safety eyes between R12–13, ~10 sts apart
Stuff firmly -
[3 sc, dec] x6 (24)
-
[2 sc, dec] x6 (18)
-
[sc, dec] x6 (12)
-
dec x6 (6), FO
🐨 Body
Start with cream:
-
MR, 6 sc
-
inc x6 (12)
-
[sc, inc] x6 (18)
-
[2 sc, inc] x6 (24)
-
[3 sc, inc] x6 (30)
6–8. sc around (30)
Switch to light gray:
9–18. sc around (30)
19. [3 sc, dec] x6 (24)
20. [2 sc, dec] x6 (18)
Stuff well
21. [sc, dec] x6 (12)
22. dec x6 (6), FO
✋ Arms (x2)
With light gray:
-
MR, 6 sc
-
[sc, inc] x3 (9)
3–14. sc around (9)
Stuff lightly -
Flatten opening, 4 sc across to close, FO
Optional: stitch claws with black yarn (3 per paw)
🦶 Legs (x2)
Same as arms, but longer:
-
MR, 6 sc
-
inc x6 (12)
3–16. sc around (12)
Stuff -
Flatten, 6 sc across to close, FO
🐽 Nose
With black yarn:
-
MR, 4 sc
-
[sc, inc] x2 (6)
-
sc around (6)
FO, flatten and sew between eyes.
👀 Ears (Make 4: 2 outer, 2 inner)
Outer (gray):
-
MR, 6 sc
-
inc x6 (12)
-
[sc, inc] x6 (18)
-
[2 sc, inc] x6 (24), FO
Inner (white):
Repeat R1–3 only, FO
Stitch inner onto outer, then fringe gray yarn around edge with a latch hook or brush for fluff.
🪵 Assembly
-
Sew head to body
-
Attach ears to sides of head
-
Sew nose and embroider smile
-
Sew arms in a forward-curved position (for hugging branch)
-
Sew legs on bottom sides at angles
-
Stitch black yarn for claws on feet and hands
-
Wrap arms and legs around a stick or prop
