Creating an amigurumi cardinal bird pattern is a delightful journey that combines creativity, patience, and a love for nature 🐦. When I set out to design this charming creature, I was captivated by the vibrant red plumage and distinct black mask of the real-life cardinal. It’s truly a joy to translate these striking features into yarn, where each stitch adds personality and character to the finished piece. The process begins with selecting the perfect shade of red yarn, which is crucial for capturing that iconic cardinal hue. As I crochet each round, I feel a connection to the outdoors and these beautiful birds, imagining them perched gracefully in my backyard.
In crafting this amigurumi, I pay close attention to the cardinal’s unique anatomy—its small, rounded body, the pointed crest on its head, and the delicate wings. It’s all about balance and proportion, as these elements must harmonize to bring the bird to life. I often pause to admire the work in progress, eager to see how each new detail enhances its likeness. Adding the finishing touches, like the beak and eyes, feels like breathing life into the yarn creation. This process, while intricate, is incredibly rewarding, offering not only a finished piece of art but also a sense of accomplishment and joy. Crafting amigurumi allows me to express my love for both crochet and nature in a tangible, beautiful way 🌿.
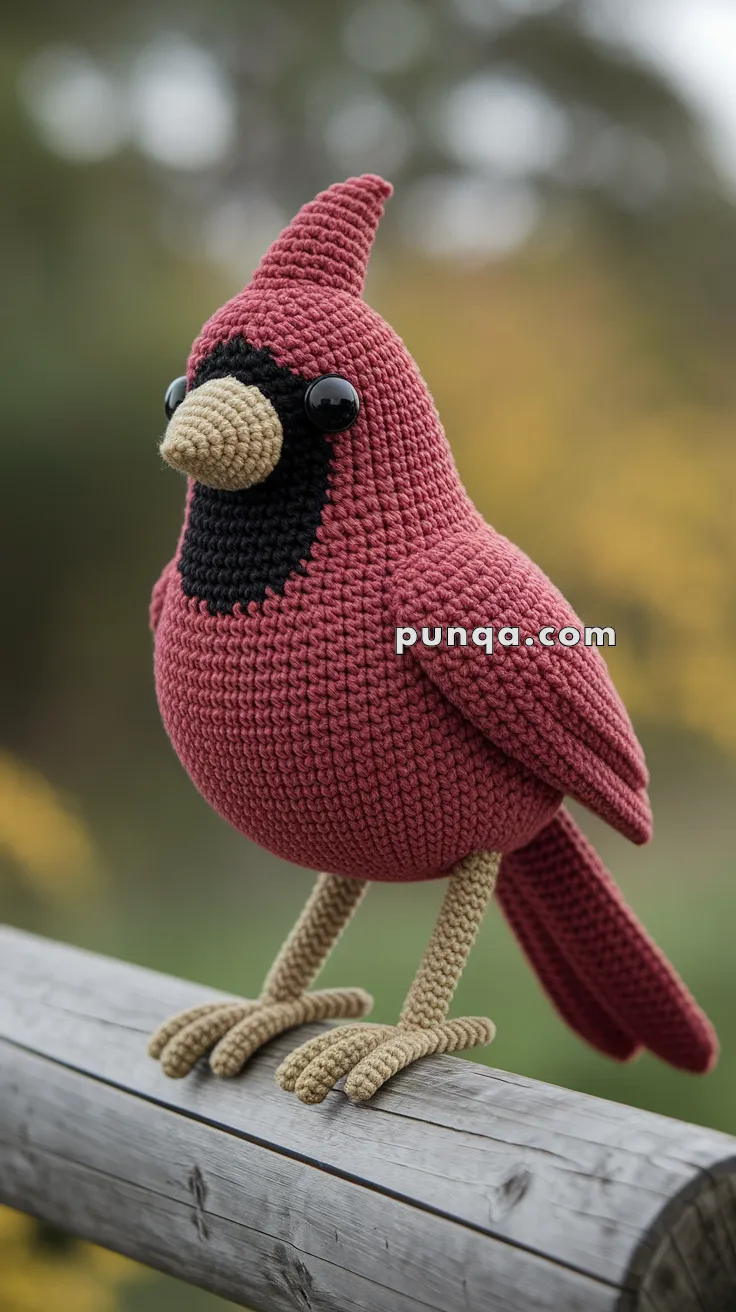
🐦 Amigurumi Cardinal Bird Pattern
Craft your very own cardinal — a symbol of warmth, hope, and winter charm. This amigurumi bird features a plump body, signature crest, and lifelike legs and wings.
📏 Finished Size
Approx. 7–8 inches tall (18–20 cm)
🧶 Skill Level
Intermediate – includes shaping, color changes, and multiple attachments
🧰 Materials
-
Worsted weight yarn in:
-
Red (main body)
-
Black (face mask)
-
Beige or tan (beak and legs)
-
-
2.5 mm crochet hook
-
10 mm safety eyes (or black embroidery thread)
-
Fiberfill stuffing
-
Yarn needle
-
Stitch markers
-
Scissors
-
Wire (optional, for posable feet)
🧩 Abbreviations (US Terms)
-
MR: magic ring
-
sc: single crochet
-
inc: increase (2 sc in one stitch)
-
dec: decrease (sc two together)
-
sl st: slip stitch
-
ch: chain
-
st(s): stitch(es)
-
BLO: back loop only
🪶 Pattern Instructions
🟥 Body (Red)
-
MR, 6 sc
-
inc in each st (12)
-
(sc, inc) × 6 (18)
-
(2 sc, inc) × 6 (24)
-
(3 sc, inc) × 6 (30)
6–18. sc in each st (30) -
(3 sc, dec) × 6 (24)
-
(2 sc, dec) × 6 (18)
-
(sc, dec) × 6 (12) — stuff firmly
-
dec × 6 (6)
Fasten off, sew hole closed.
⬛ Face Mask (Black)
-
MR, 6 sc
-
(sc, inc) × 3 (9)
-
sc around (9)
Sew to front of body just under the eyes. Embroider sharp corners for a triangular look.
👁 Eyes
Attach safety eyes just above the face mask area, approx. 7 sts apart.
🔺 Crest (Red)
-
MR, 4 sc
-
(sc, inc) × 2 (6)
3–5. sc around (6) -
dec × 3 (3)
Fasten off and sew to top of the head.
🧡 Beak (Beige)
-
MR, 5 sc
-
sc around (5)
-
dec, sc × 3 (4)
Stuff lightly and sew over the mask.
🪽 Wings (Make 2 – Red)
-
MR, 6 sc
-
(sc, inc) × 3 (9)
3–6. sc around -
(2 sc, dec) × 2, sc (7)
8–12. sc around
Flatten and sew sides closed. Sew to body sides.
🪶 Tail (Red)
-
MR, 6 sc
2–4. sc around -
(2 sc, inc) × 2 (8)
6–10. sc around (8)
Flatten and sew on back base, angled slightly downward.
🦶 Feet (Make 2 – Beige)
Toes (make 3 per foot):
-
ch 7, sc in 2nd ch from hook and across (6)
Fasten off, leave tail.
Leg:
-
MR, 6 sc
2–10. sc around
Sew toes together at one end, then attach leg. Secure legs to bottom.
🎉 Final Assembly
-
Attach all parts securely with pins before sewing.
-
Lightly brush yarn ends if you want a fluffy texture on the tail/crest.
-
Add embroidery detail or blush to cheeks for added charm!