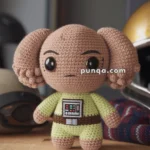
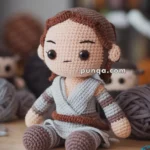
March into creativity with this Amigurumi AT-AT Walker crochet pattern! Whether you’re crafting for Star Wars fans, adding a geeky touch to your collection, or simply love making detailed amigurumi designs, this free pattern lets you stitch up the iconic AT-AT Walker in adorable crochet form. With its unmistakable shape, sturdy legs, and futuristic details, this crochet AT-AT captures the essence of the legendary Imperial transport in every stitch. Perfect for gifting to fellow sci-fi lovers, decorating a themed space, or simply celebrating the joy of crochet, this amigurumi AT-AT Walker is ready to bring a touch of galactic adventure to your handmade collection! 🚀✨
Designed for customization, this pattern allows you to experiment with different shades of gray, embroidered details, or even tiny accessories like miniature stormtroopers or battle damage for extra personality. Craft a classic AT-AT with its signature look, create a playful version with exaggerated features, or even stitch up a full Star Wars-inspired set with matching vehicles! Whether displayed as a cherished keepsake, gifted to a fellow crochet enthusiast, or made simply for the joy of crafting, this Amigurumi AT-AT Walker is a unique and exciting project—perfect for bringing the magic of the galaxy to every stitch! 🧶🌌
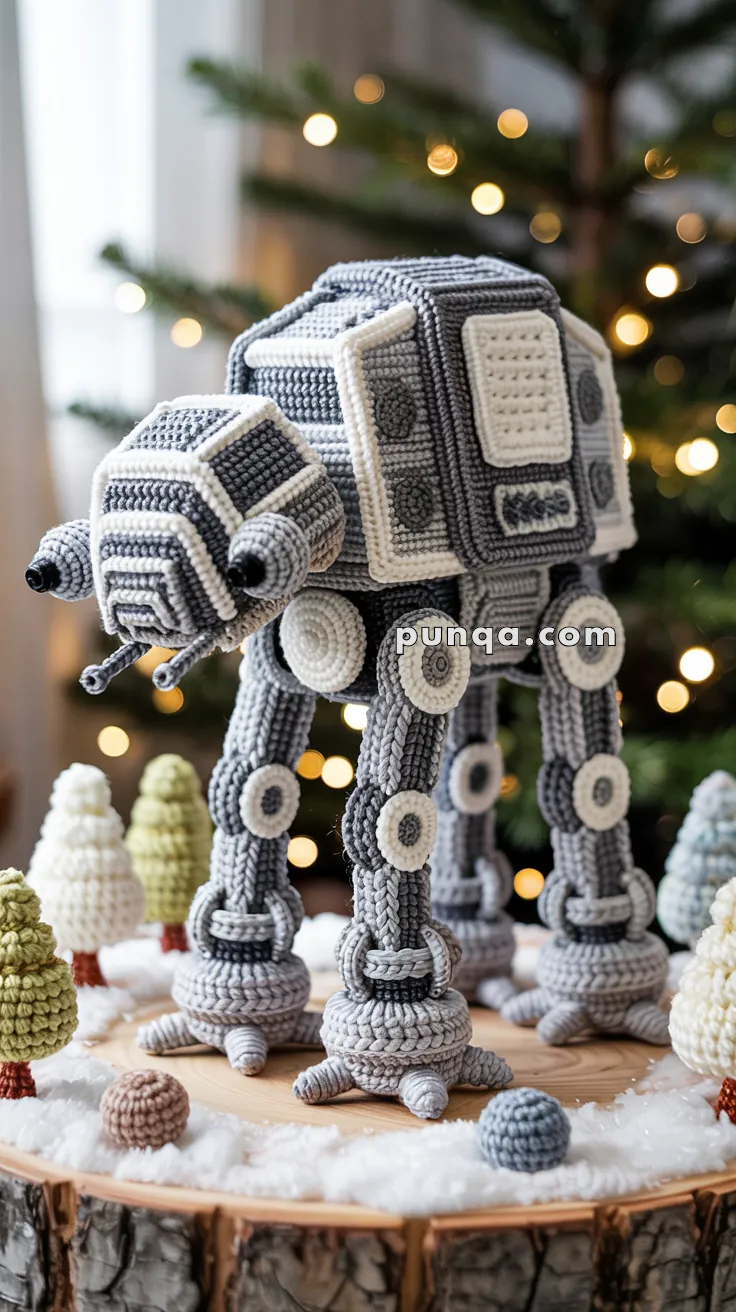
🛡️ Amigurumi AT-AT Walker Crochet Pattern
Turn the fearsome Imperial walker into a soft and geeky display piece! With its iconic boxy body, segmented mechanical legs, and commanding presence, this amigurumi AT-AT is ideal for Star Wars fans looking for a handmade challenge.
✨ Skill Level
Advanced – Includes shaping, structural assembly, and layered surface detailing.
📏 Finished Size
Approx. 10–12 inches (25–30 cm) tall using worsted weight yarn and a 3.5 mm hook.
🧶 Materials
- Worsted weight yarn:
- Dark Gray (main body)
- Light Gray (panel details)
- White or Cream (accent trim)
- Black (cannons, foot details)
- 3.5 mm crochet hook
- Tapestry needle
- Fiberfill stuffing
- Stitch markers
- Plastic canvas or cardboard (for inner structure – optional)
- Wire (for poseable legs – optional)
🧵 Abbreviations (US Terms)
MR – Magic Ring
sc – Single Crochet
inc – Increase
dec – Decrease
ch – Chain
sl st – Slip Stitch
FO – Fasten Off
BLO – Back Loop Only
FLO – Front Loop Only
🧠 Main Body (rectangle base structure)
With Dark Gray:
- Ch 20
- sc in 2nd ch from hook and across (19)
3–18. ch 1, turn, sc across (19)
Repeat for 4 identical rectangular panels (sides + top + bottom).
FO and leave long tails for sewing. Slightly stuff the interior or line with plastic canvas for shape.
🪖 Head (cockpit)
With Dark Gray:
- MR, 6 sc (6)
- inc x6 (12)
- (sc, inc) x6 (18)
4–9. sc around (18) - (2 sc, dec) x4, sc 2 (14)
- sc around (14)
- sl st to flatten opening. FO.
Make two small rectangles (6×4) to form the sides of the cockpit, sew flat on both sides of the dome. Add white trim using surface slip stitches or flat embroidery.
🔳 Side Panel Plates (Make several)
With Light Gray or Cream:
Ch 6, work in rows of sc for 4 rows to make small rectangular panels.
Make 2–4 larger squares (approx. 8×8 stitches) for body panels.
Attach them evenly spaced to both body sides using whipstitch or surface crochet. Use FLO or BLO to add layering.
🦿 Legs (Make 4 identical)
Segmented design:
Upper Leg Segment:
- MR, 6 sc (6)
- inc x6 (12)
3–8. sc around (12)
FO. Set aside.
Knee Disc (Make 2 per leg):
- MR, 6 sc
- inc x6 (12)
- sc around
Sew to each side of leg to create mechanical joint.
Lower Leg Segment:
Repeat same steps as Upper Leg Segment.
Ankle Ring:
Ch 18, join to form ring, sc around x2 rounds.
Wrap around leg before attaching foot.
🦾 Feet (Make 4)
With Light Gray:
- MR, 6 sc
- inc x6 (12)
- (sc, inc) x6 (18)
- (2 sc, inc) x6 (24)
5–7. sc around (24) - FLO – (hdc, dc, sl st) around to create claw-like feet
Toes:
Ch 4, sc in each, FO – attach 3 per foot pointing outward.
🎯 Cannons (Front Guns – Make 2)
With Black:
- MR, 4 sc
2–6. sc around
FO and sew to the front of the head.
Side Blasters (Optional – Make 2 small tubes):
- MR, 5 sc
2–4. sc around
Sew to head sides.
🪡 Assembly Instructions
- Sew the 4 large body panels into a box shape. Attach top and bottom.
- Sew the head to the front center of the body.
- Attach legs to each corner using whipstitch through the side and underbody.
- Sew ankle ring to each leg. Then attach feet.
- Embroider black lines or use surface slip stitch for cables, joints, and tech details.
- Optionally, insert floral wire into legs before closing to make poseable.
🎉 Final Touch
You’ve just created your very own soft AT-AT! Whether it’s stomping across a snowy display or standing tall beneath a Christmas tree, this piece adds a powerful (yet adorable) force to your handmade galaxy. May the yarn be with you!