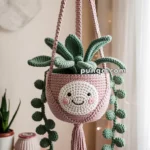
Creating amigurumi herb pots is such a delightful craft that combines the joy of crocheting with a touch of nature-inspired creativity! 🌿 If you’re anything like me, you’ll appreciate the charm and whimsy these tiny crochet creations bring into any space. The beauty of crafting amigurumi herb pots lies not only in the finished product, which can brighten up a desk or windowsill, but also in the therapeutic process of making them. The repetitive motion of crocheting is both calming and rewarding, and seeing your little herb pots take shape stitch by stitch is incredibly satisfying. Plus, they’re perfect for those of us who may not have the greenest thumbs but still want to enjoy a bit of greenery indoors! 🪴
Getting started with creating your own amigurumi herb pot pattern is easier than you might think, even if you’re new to crocheting. The key is to select the right yarn—usually cotton or acrylic—and gather some basic tools like a crochet hook, stuffing, and a yarn needle. Then, it’s all about choosing your favorite herbs, whether it’s mint, basil, or rosemary, and letting your imagination run wild! 🌱 As you work through your pattern, you’ll explore different stitches and techniques to create the stems, leaves, and pot, each step adding a unique element to your creation. The best part? You can personalize each tiny herb and pot with colors and details that match your style or the season. Imagine gifting a set of these adorable herb pots to friends or family—it’s a handmade gift that’s sure to bring smiles. 😊
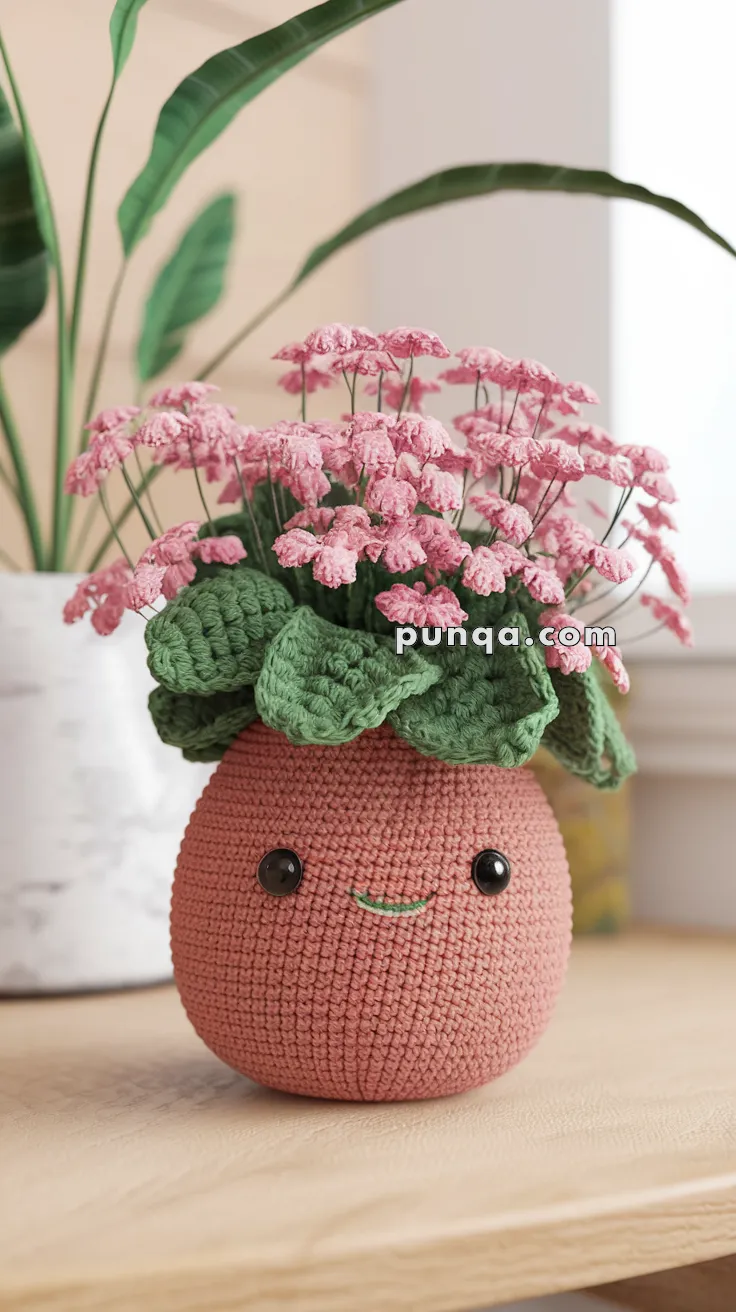
Add a cheerful touch of greenery to your home with this smiley herb pot amigurumi! It’s a cute and beginner-friendly project that makes a perfect gift or desk companion.
🧷 Finished Size:
Approx. 15–18 cm (6–7 in) tall including flowers (using DK yarn and a 2.5 mm hook)
2 sc, dec around (18) Insert safety eyes between Rounds 13–14, 6 stitches apart. Stuff firmly.
sc, dec around (12)
dec around (6) Fasten off and sew closed.
🌿 Leaves (Make 6–8):
Using green yarn:
Ch 9
Starting in 2nd ch from hook: sc, hdc, 3 dc, hdc, sc, sl st in final ch Fasten off, leave tail for sewing. Sew around the top of the pot in a loose ring.
🌸 Flower Bunch (Make 8–10 Stems):
Using pink yarn and floral wire:
Ch 7
Starting from 2nd ch: sl st, ch 3, sl st in same st — repeat in each ch across to make small flower clusters. Wrap flowers around wire or pipe cleaner, and twist to secure. Insert wire stems into pot through leaves. Optionally secure with glue.
😊 Face:
Use black embroidery thread or yarn to stitch a simple smile below the eyes.
Optional: add a tiny white stitch to each eye for sparkle.
💡 Final Tips:
Feel free to add extra flowers or make different leaf shapes for variety.
You can create different facial expressions to give your herb pot a unique personality.
Use a heavier weight yarn and larger hook for a larger version.