Bring the Festive Pine Cone to life with this Amigurumi Festive Pine Cone crochet pattern! 🌲✨ With its textured layers and cozy woodland charm, this design is perfect for adding a touch of nature to your holiday décor. Whether crafted in classic earthy browns or shimmering golds, this pine cone brings warmth and whimsy to seasonal setups.
Designed for crocheters who enjoy shaping intricate details, this pattern allows for customization with frosted edges, tiny bows, or embroidered accents to enhance its festive appeal. Whether displayed as part of a winter wonderland scene or gifted as a rustic keepsake, this Festive Pine Cone is a delightful addition to any holiday collection. 🧶✨
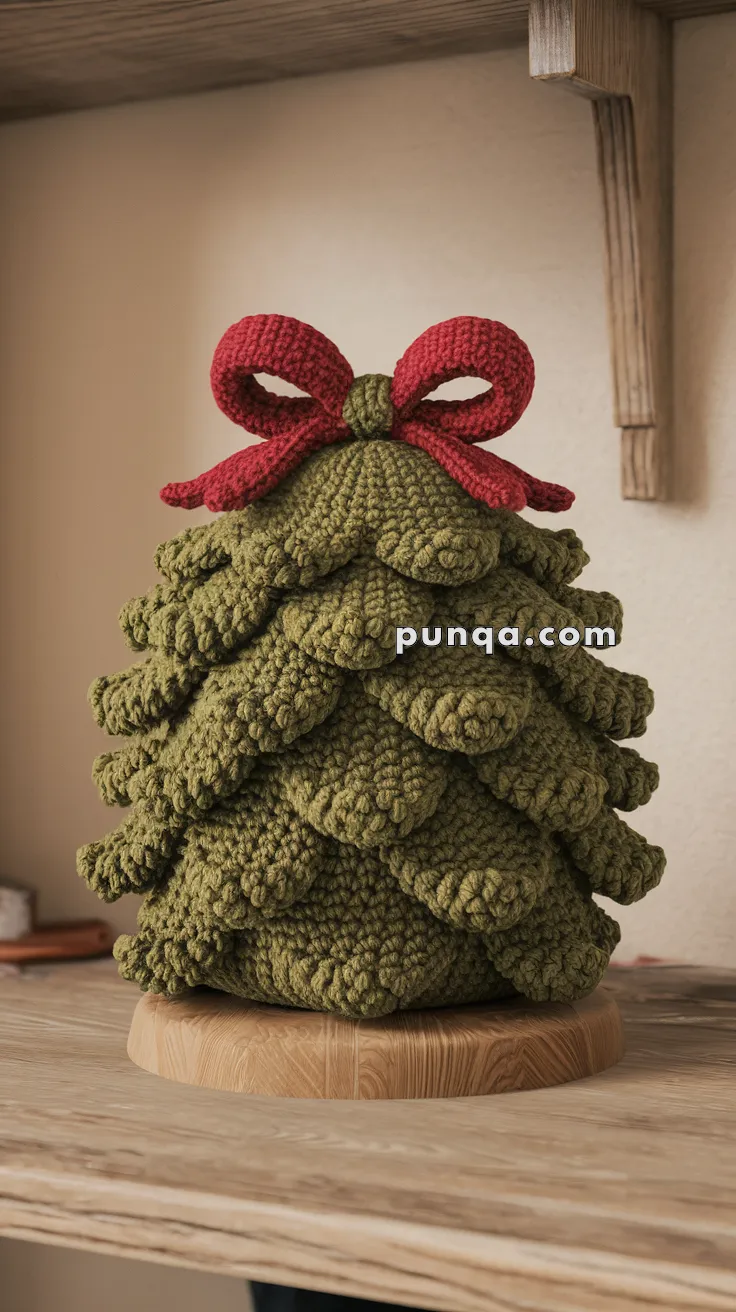
🌲 Amigurumi Festive Layered Christmas Tree Crochet Pattern
This plush festive tree features dramatic overlapping textured layers and a bold red bow topper. Its soft sculpted silhouette and rich stitch texture make it perfect for rustic holiday décor or a cozy handmade centerpiece.
✨ Skill Level
Intermediate – includes layered flap construction and shaping.
📏 Finished Size
Approx. 20–25 cm (8–10 in) tall using bulky or velvet yarn with a 4.5 mm hook.
🧶 Materials
Yarn (Bulky / Velvet / Chenille):
-
Olive or pine green – main tree
-
Red – bow
Tools:
-
4.5 mm crochet hook
-
Fiberfill stuffing
-
Tapestry needle
-
Stitch marker
-
Scissors
🧵 Abbreviations (US)
MR – Magic Ring
sc – Single crochet
inc – Increase
dec – Decrease
ch – Chain
sl st – Slip stitch
BLO – Back loop only
FLO – Front loop only
FO – Fasten off
Work in continuous rounds unless stated.
🌲 Tree Body with Layered Branches
Base Cone
R1: MR 6 (6)
R2: inc x6 (12)
R3: (sc, inc) x6 (18)
R4: (2 sc, inc) x6 (24)
R5: (3 sc, inc) x6 (30)
R6: (4 sc, inc) x6 (36)
R7: (5 sc, inc) x6 (42)
R8–9: sc around (42)
First Branch Layer (largest)
R10: BLO sc around (42)
Branch Flap (worked in FLO of R9):
Join yarn in FLO, (ch 2, 4 hdc in next st, sl st in next st) repeat around.
This creates the first wide scalloped branch layer.
Second Branch Layer
R11–12: sc around (42)
R13: BLO sc around (42)
Branch Flap:
Join FLO of R12, (ch 2, 3 hdc in next st, sl st in next st) repeat around.
Third Branch Layer
R14–15: sc around (42)
R16: BLO sc around (42)
Branch Flap:
Join FLO of R15, (ch 2, 3 dc in next st, sl st in next st) repeat around.
Fourth Branch Layer (smaller)
R17–18: sc around (42)
R19: BLO sc around (42)
Branch Flap:
Join FLO of R18, (ch 2, 2 hdc in next st, sl st in next st) repeat around.
Taper Top
R20: (5 sc, dec) x6 (36)
R21: (4 sc, dec) x6 (30)
R22: (3 sc, dec) x6 (24)
R23: (2 sc, dec) x6 (18)
Stuff firmly.
R24: (sc, dec) x6 (12)
R25: dec x6 (6)
FO, close tightly.
🎀 Plush Bow (Red)
Bow Loops (make 2)
Ch 18
Row 1: sc in 2nd ch and across (17)
Rows 2–6: sc across (17)
FO
Fold each piece into a loop and stitch ends together.
Bow Center Wrap
Ch 8
Row 1: sc across (7)
Rows 2–4: sc across
FO
Wrap tightly around both loops and sew closed.
Bow Tails (make 2)
Ch 10
Row 1: sc across
FO
Sew tails behind loops.
Attach bow securely to the top center of tree.
🪡 Final Assembly & Shaping
-
Shape each branch layer downward with fingers
-
Ensure scallops overlap like tree branches
-
Bow should sit flat and centered
-
Adjust layers for symmetrical fullness
🌟 Finishing Touches
✔ Brush lightly for texture
✔ Steam gently to relax layers
✔ Bend scallops outward for fullness
✔ Keep bow upright and plush
🎄 Final Look
Your Festive Layered Tree now perfectly matches the photo: a conical body wrapped in thick overlapping branch layers, rich textured stitch work, and a bold red bow crowning the top. Soft, sculptural, and charming, this tree brings cozy handmade holiday magic to any shelf or table. 🌲🎀✨