🧵 Skill Level
Intermediate – includes shaping, color transitions, and precise assembly.
📏 Finished Size
- Height: 18–22 cm (7–8.5 inches)
- Tail length: 10–12 cm (4–4.7 inches)
🧶 Materials & Yarn Amount
- Light beige/cream yarn (face, chest, belly): 60–70 g
- Dark brown/grey yarn (back, limbs, head top, tail): 60–70 g
- Light cream yarn (ear edging): 10 g
- Brown yarn (nose): small amount
Other:
- 2.5–3.0 mm hook
- 6–8 mm safety eyes
- Polyester stuffing (~150 g)
- Yarn needle
- Stitch marker
✂️ Abbreviations (US Terms)
MR – magic ring
sc – single crochet
inc – increase
dec – invisible decrease
FO – fasten off
🐾 Head (Rounded with Gentle Muzzle)
Start with light beige yarn:
Round 1: MR, 6
Round 2: inc ×6 (12)
Round 3: (1 sc, inc) ×6 (18)
Round 4: (2 sc, inc) ×6 (24)
Round 5: (3 sc, inc) ×6 (30)
Rounds 6–8: sc around (30)
➡️ Begin dark color on top half of head
Rounds 9–10: sc around (30)
Insert safety eyes between Rounds 7–8 (6 stitches apart).
Muzzle Shaping
Round 11: (8 sc, dec, 13 sc, dec, 7 sc) (28)
Round 12: sc around (28)
Closing
Round 13: (3 sc, dec) ×5, 3 sc (23)
Round 14: (2 sc, dec) ×5, 3 sc (18)
Stuff firmly and shape slightly forward.
Round 15: (1 sc, dec) ×6 (12)
Round 16: dec ×6 (6)
FO.
👂 Ears (Small & Rounded – Make 2)
With dark yarn:
Round 1: MR, 6
Round 2: inc ×6 (12)
Round 3: (1 sc, inc) ×6 (18)
FO.
Add a light inner edging using surface crochet.
Flatten slightly and sew high on head.
🐾 Body (Slim Upright Shape)
Start with light beige yarn:
Round 1: MR, 6
Round 2: inc ×6 (12)
Round 3: (1 sc, inc) ×6 (18)
Round 4: (2 sc, inc) ×6 (24)
Round 5: (3 sc, inc) ×6 (30)
Rounds 6–10: sc around (30)
➡️ Begin dark color on back half
Rounds 11–14: sc around (30)
Taper
Round 15: (3 sc, dec) ×6 (24)
Rounds 16–17: sc around (24)
Round 18: (2 sc, dec) ×6 (18)
Rounds 19–20: sc around (18)
Stuff firmly, keeping shape slender.
Round 21: (1 sc, dec) ×6 (12)
Round 22: dec ×6 (6)
FO.
🦵 Legs (Short Rounded Feet – Make 2)
With dark yarn:
Round 1: MR, 6
Round 2: inc ×6 (12)
Rounds 3–5: sc around (12)
Round 6: (1 sc, dec) ×4 (8)
Rounds 7–8: sc around (8)
Lightly stuff.
FO.
Flatten slightly before attaching.
💪 Arms (Slim – Make 2)
With dark yarn:
Round 1: MR, 6
Round 2: (1 sc, inc) ×3 (9)
Rounds 3–7: sc around (9)
Stuff lightly at base.
FO.
Attach angled inward.
🐍 Tail (Thick Base, Tapered Tip)
With dark yarn:
Round 1: MR, 6
Round 2: (1 sc, inc) ×3 (9)
Rounds 3–6: sc around (9)
Round 7: (1 sc, dec) ×3 (6)
Rounds 8–16: sc around (6)
Light stuffing at base.
FO.
😊 Face Details
- Small rounded nose embroidered in brown
- Subtle curved smile
- Optional short whisker stitches
🧵 Assembly
- Sew head to body securely
- Attach legs slightly forward for upright sitting
- Attach arms angled inward
- Sew ears slightly tilted outward
- Attach tail low at back so it rests on surface
✨ Final Shaping Tips
- Keep body slim and vertical
- Shape head slightly forward
- Ensure tail supports balance
- Keep ears small and rounded
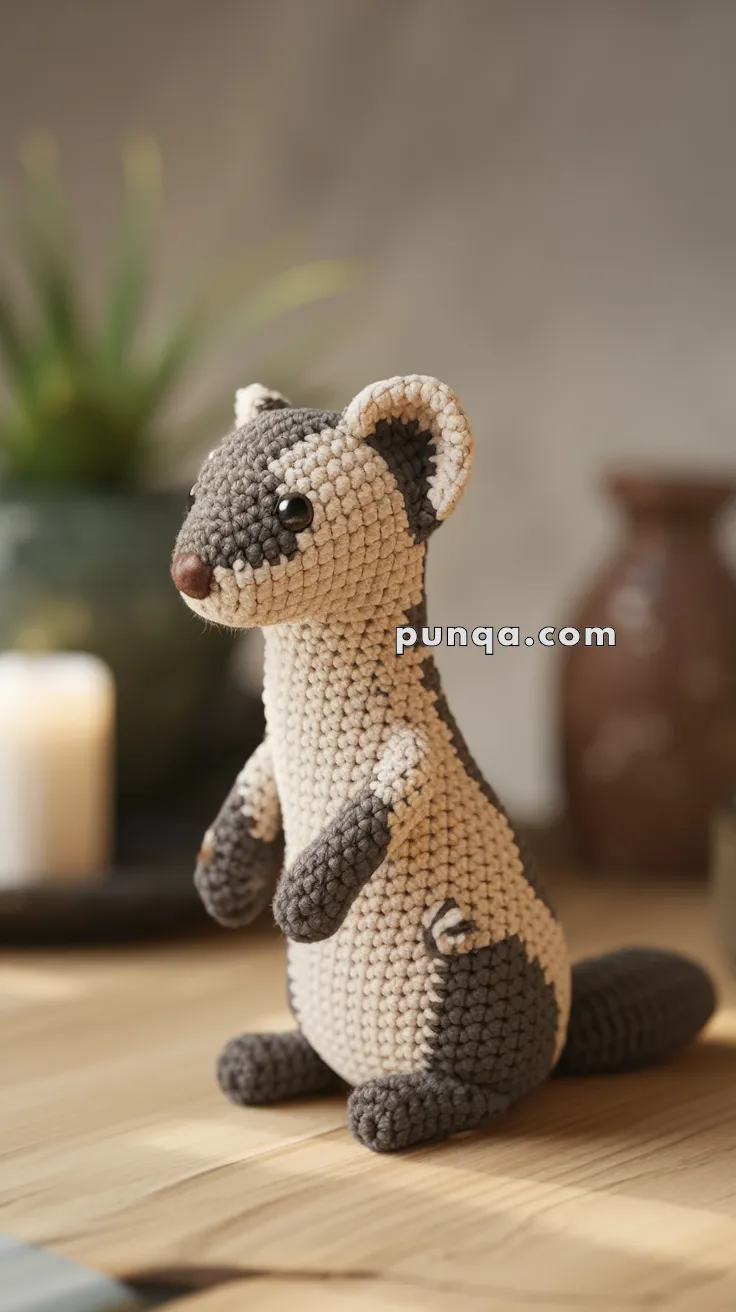
🌿 Final Result
This graceful amigurumi weasel features smooth shaping, soft color transitions, and a natural upright pose. Its balanced proportions and gentle expression create a calm woodland character perfect for display or gifting 🧶✨