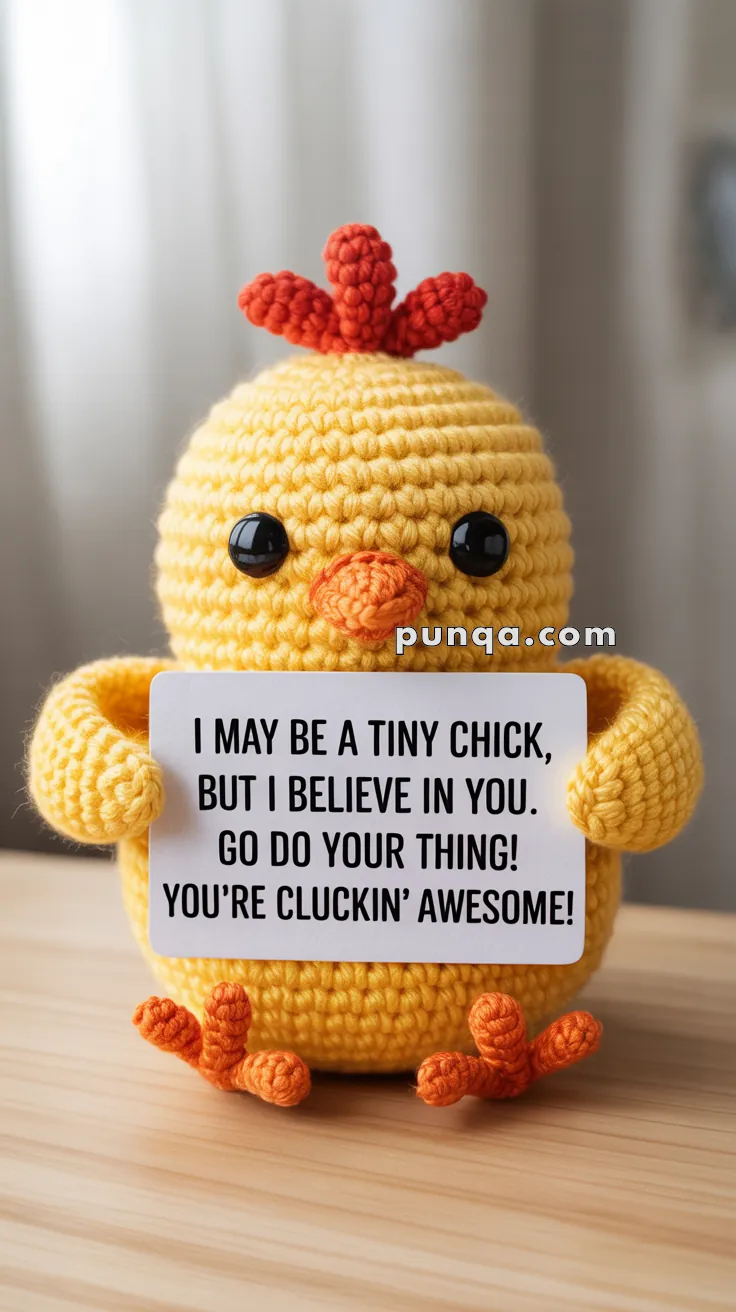
Brighten someone’s day with this Amigurumi Positive Chick crochet pattern! With its sunny yellow fluff, sweet little beak, and wings outstretched to hold a tiny message card, this cheerful chick is the perfect way to spread kindness and encouragement. Whether you’re crafting a thoughtful gift, a desk buddy, or a pocket-sized pick-me-up, this pattern lets you stitch up a bundle of joy that’s small in size but big on heart. 🐥💌🧶
Designed for charm and creativity, this pattern invites you to play with soft yarns, pastel hues, and expressive details like blushing cheeks, tiny feet, and a personalized note tucked between its wings. Add a bow tie, a flower crown, or even a little envelope for extra flair. Whether it’s perched on a shelf, tucked into a gift box, or passed along as a random act of crochet kindness, this Positive Chick is a heartwarming and satisfying project—perfect for bringing a smile with every stitch! 💖🌈✨
🐣 Amigurumi Positive Chick Crochet Pattern
This sweet little chick may be small, but it’s full of positivity! With its cheerful expression and message-holding wings, it’s the perfect handmade gift to brighten someone’s day. Customize the message and spread some joy—one stitch at a time!
🧶 Materials
- Worsted weight yarn (Cotton or Acrylic):
- Yellow (body and wings)
- Orange (feet, beak, crest)
- 2 safety eyes (10–12 mm)
- Crochet hook: 3.0 mm
- Fiberfill stuffing
- Stitch markers
- Tapestry needle
- Cardstock or printed message (for holding)
- Optional: small Velcro dot or hot glue for message card
🧵 Abbreviations (US Terms)
- MR – Magic Ring
- sc – Single Crochet
- inc – Increase (2 sc in same stitch)
- dec – Decrease (sc 2 together)
- sl st – Slip Stitch
- ch – Chain
- st(s) – Stitch(es)
🐥 Skill Level
Beginner-Friendly – simple shapes, no sewing fingers, and minimal shaping. Special attention needed only for wing shaping (explained step-by-step).
🧍♂️ Finished Size
Approx. 12–14 cm (5–5.5 in) tall
🧵 Pattern Instructions
🟡 Body (in yellow)
- MR, 6 sc
- inc in each st around – 12
- (sc, inc) x6 – 18
- (2 sc, inc) x6 – 24
- (3 sc, inc) x6 – 30
- (4 sc, inc) x6 – 36
7–18. sc in each – 36 - (4 sc, dec) x6 – 30
- (3 sc, dec) x6 – 24
- (2 sc, dec) x6 – 18
- (sc, dec) x6 – 12
- dec x6 – 6
Fasten off and weave in.
Stuff firmly. Insert safety eyes between Rounds 10 and 11, approx. 6–8 stitches apart.
🧡 Beak (in orange)
- MR, 4 sc
- (sc, inc) x2 – 6
- sc in each – 6
Fasten off and sew under eyes.
🟠 Feet (Make 2, in orange)
Toes (make 3 for each foot):
- MR, 5 sc, sl st to first st, fasten off
Leave a long tail on each.
Sew 3 toes together in a triangle shape.
Attach to bottom of body, slightly spread apart.
🔴 Crest (Make 3 parts, in red-orange)
- MR, 5 sc
- sc around
- sc around
Fasten off, sew each one to the top of the head as little “flames” pointing upward.
🟡 Wings (Make 2, in yellow)
- MR, 6 sc
- (sc, inc) x3 – 9
- (2 sc, inc) x3 – 12
4–7. sc in each – 12 - (2 sc, dec) x3 – 9
- sc in each – 9
- Fold flat and crochet across both sides to close (4–5 sc across top edge)
Fasten off, leave long tail for sewing.
Shaping for Card-Holding:
- Positioning: Attach the wings mid-body at the side, angled slightly forward.
- Stitch only the back edge of the wing to the body, keeping the front edge loose and slightly curved inward.
- For extra hold: Place a small stitch or dot of glue at the wing tips to grip the card, OR sew the wing tip down lightly with a single invisible stitch.
- Wings should curve forward and inward naturally when stuffed lightly and sewn only along the outer edge.
📝 Message Card
- Print or handwrite a message approx. 5 x 7 cm (2 x 3 in).
- Slide it under the wing tips or secure lightly with Velcro dots or glue dots for removable cards.
✅ Assembly Recap
- Sew beak between the eyes
- Sew crest to the top
- Attach feet to the base
- Shape wings as above
- Add message and gift with love!
We hope this adorable chick reminds you (and everyone else!) just how cluckin’ awesome you really are. Happy stitching and keep spreading the joy!