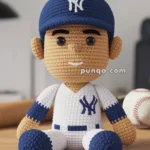
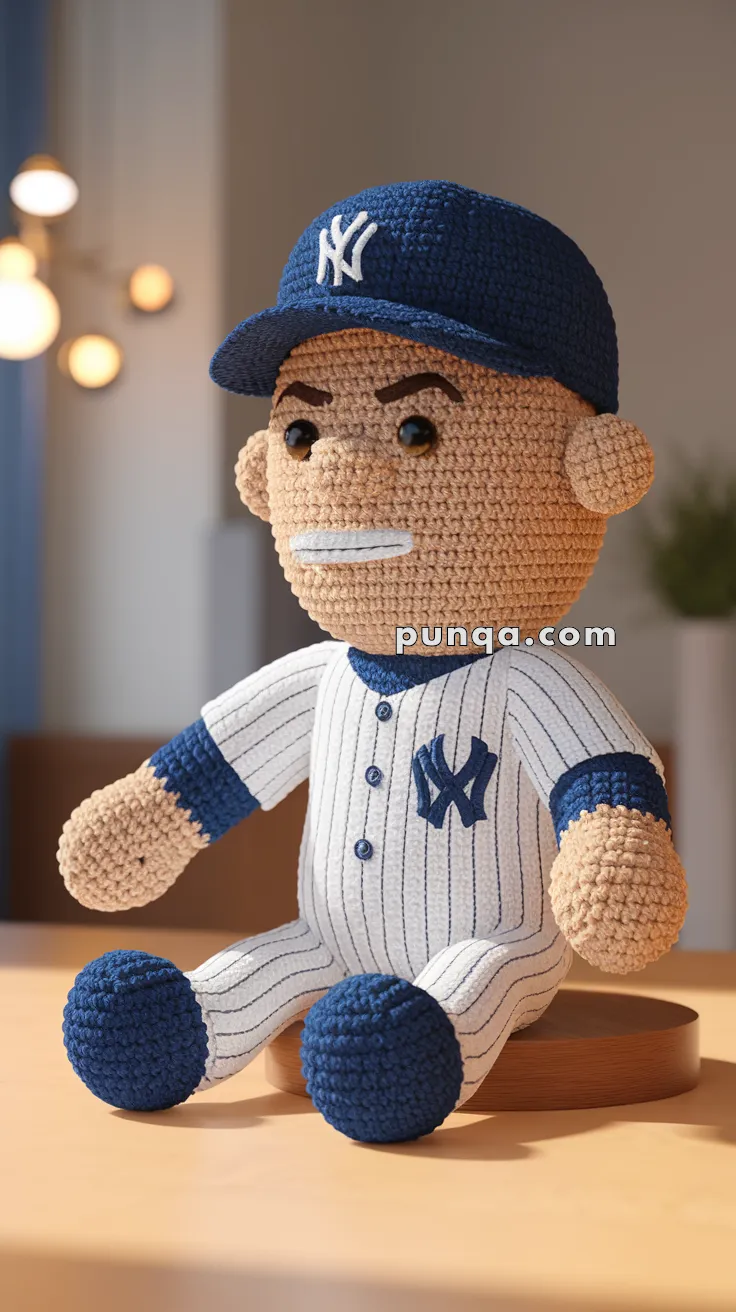
Step up to the plate with this Amigurumi Mike Trout crochet pattern! Inspired by one of baseball’s greatest players, this adorable handmade tribute is perfect for sports fans and crochet enthusiasts alike. Whether you’re crafting a keepsake for a baseball lover or adding a sporty touch to your amigurumi collection, this free pattern lets you bring a bit of major league magic to life. With signature details like a cap, jersey, and a determined expression, this little figure is ready to knock it out of the park!
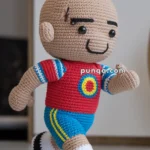
Designed with fun and customization in mind, this pattern lets you play with colors and details to make your mini Trout uniquely yours. Whether you stick with classic team colors or add your own creative twist, there’s plenty of room to personalize your baseball star. So, grab your yarn, pick up your hook, and get ready to crochet a home-run-worthy creation—perfect for gifting, displaying, or keeping as a tribute to the game! ⚾✨
⚾ Amigurumi Baseball Player (Mike-Inspired) Crochet Pattern
This adorable amigurumi baseball player is inspired by pro-level performance and classic pinstripe uniforms. With a fitted cap, striped jersey, and custom embroidery, this figure makes a great gift for baseball fans or sports-themed collectors.
✨ Skill Level
Intermediate – Involves embroidery, color changes, and shaping.
📏 Finished Size
Approx. 10–12 in (25–30 cm) tall using worsted yarn and a 3.0–3.5 mm hook.
🧶 Materials
-
Yarn (Worsted, cotton or acrylic):
-
Beige – skin (head, ears, hands)
-
Navy – cap, shoes, jersey cuffs/collar
-
White – jersey, pants, teeth
-
Black – embroidery details (pinstripes, eyebrows, buttons)
-
-
Hook: 3.0–3.5 mm
-
Stuffing: Polyester fiberfill
-
Safety eyes: 12 mm black
-
Embroidery thread (cotton or fine yarn):
-
White – “NY” logo (cap + jersey), teeth
-
Black – eyebrows, pinstripes, buttons
-
Navy – chest logo fill
-
-
Notions:
-
Yarn needle
-
Embroidery needle
-
Stitch marker
-
🧵 Abbreviations (US Terms)
-
MR – Magic Ring
-
sc – Single Crochet
-
inc – Increase (2 sc in one stitch)
-
dec – Decrease (sc2tog)
-
ch – Chain
-
sl st – Slip Stitch
-
FO – Fasten Off
-
st(s) – Stitch(es)
🟤 Head (Beige)
-
MR, 6 sc (6)
-
inc x6 (12)
-
(sc, inc) x6 (18)
-
(2 sc, inc) x6 (24)
-
(3 sc, inc) x6 (30)
-
(4 sc, inc) x6 (36)
-
(5 sc, inc) x6 (42)
8–18. sc around (42)
👉 Insert 12 mm safety eyes between R10–11, spaced ~10 sts apart.
👉 Embroider thick black eyebrows above eyes with satin stitch. -
(5 sc, dec) x6 (36)
-
(4 sc, dec) x6 (30)
-
(3 sc, dec) x6 (24)
👉 Stuff firmly. -
(2 sc, dec) x6 (18)
-
(sc, dec) x6 (12)
-
dec x6 (6)
FO, weave end closed.
👂 Ears (Make 2, Beige)
-
MR, 6 sc (6)
-
sc around (6)
FO, leave tail.
👉 Sew to each side of head, aligned with eyes.
🧢 Cap (Navy)
Crown:
-
MR, 6 sc (6)
-
inc x6 (12)
-
(sc, inc) x6 (18)
-
(2 sc, inc) x6 (24)
-
(3 sc, inc) x6 (30)
-
(4 sc, inc) x6 (36)
-
(5 sc, inc) x6 (42)
8–12. sc around (42)
Brim (Curved):
-
ch 12
-
sc across (11), turn
-
sc across (11), turn
-
sl st around edge for a neat finish.
👉 Pin brim to cap, steam lightly, and shape into a gentle forward curve before sewing.
Logo:
-
Embroider block “NY” on front of cap with white embroidery thread. Use satin stitch or surface backstitch.
👕 Jersey & Body
Start with navy (collar):
-
MR, 6 sc (6)
-
inc x6 (12)
-
(sc, inc) x6 (18)
-
(2 sc, inc) x6 (24)
-
(3 sc, inc) x6 (30)
-
Switch to white. sc around (30)
7–20. sc around (30)
👉 Stuff firmly. -
(3 sc, dec) x6 (24)
-
(2 sc, dec) x6 (18)
FO, leave tail for sewing to head.
Embroidery:
-
Pinstripes: With black thread, stitch thin vertical lines 1–2 stitches apart, evenly spaced around body & legs.
-
Logo: Embroider “NY” on left chest in navy outlined with white.
-
Buttons: Small navy dots down centerline.
💪 Arms (Make 2)
Start with beige (hands):
-
MR, 6 sc (6)
-
inc x6 (12)
3–4. sc around (12)
Switch to navy (cuffs):
5–6. sc around (12)
Switch to white (sleeves):
7–12. sc around (12)
👉 Stuff lightly.
FO, leave tail for sewing.
🦵 Legs (Make 2)
Start with navy (shoes):
-
MR, 6 sc (6)
-
inc x6 (12)
-
(sc, inc) x6 (18)
4–6. sc around (18)
Switch to white (pants):
7–12. sc around (18)
👉 Stuff firmly.
FO, leave long tail for sewing.
😁 Mouth (Non-Yarn Part)
-
Embroider a short white rectangle (about 4–5 sts wide) with satin stitch to represent teeth.
-
Place between R13–14 of head, centered under nose.
🧷 Assembly
-
Sew head to body.
-
Attach arms to sides.
-
Attach legs to bottom.
-
Sew ears to head.
-
Sew curved brim to cap, then sew cap to head.
-
Embroider details:
-
Bold black eyebrows
-
White rectangle teeth
-
Black pinstripes (dense)
-
Navy buttons
-
NY logos (cap & chest)
-
🌟 Finishing Touches
-
Adjust brim curve with steam for realism.
-
Pull embroidery stitches snug for neat, straight pinstripes.
-
Optional: Add wire inside arms/legs for poseability.
-
Set him up proudly — a handmade Yankees tribute doll! ⚾
This sporty amigurumi baseball player is ready to hit it out of the park — a fun tribute to America’s favorite pastime! ⚾🧢