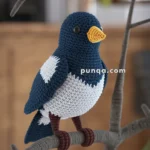
Brighten your day with the Amigurumi Parrotlet, a tiny tropical treasure that’s bursting with personality and color! 🦜🧶 With its round body, cheerful expression, and vibrant feathers, this little bird is the perfect blend of playful and adorable. Whether you’re crafting for a bird lover, decorating a sunny space, or adding to your flock of handmade friends, this parrotlet is sure to bring joy with every stitch.
Perfect for crocheters who love bold hues and expressive details, this pattern invites you to explore fun color combos, delicate shaping, and a sprinkle of avian charm. Add a tiny perch, stitch on a flower crown, or customize the feathers to match your favorite species. The Amigurumi Parrotlet is a delightful way to stitch up sunshine, sweetness, and a whole lot of handmade happiness—one loop at a time! 🧵🌺
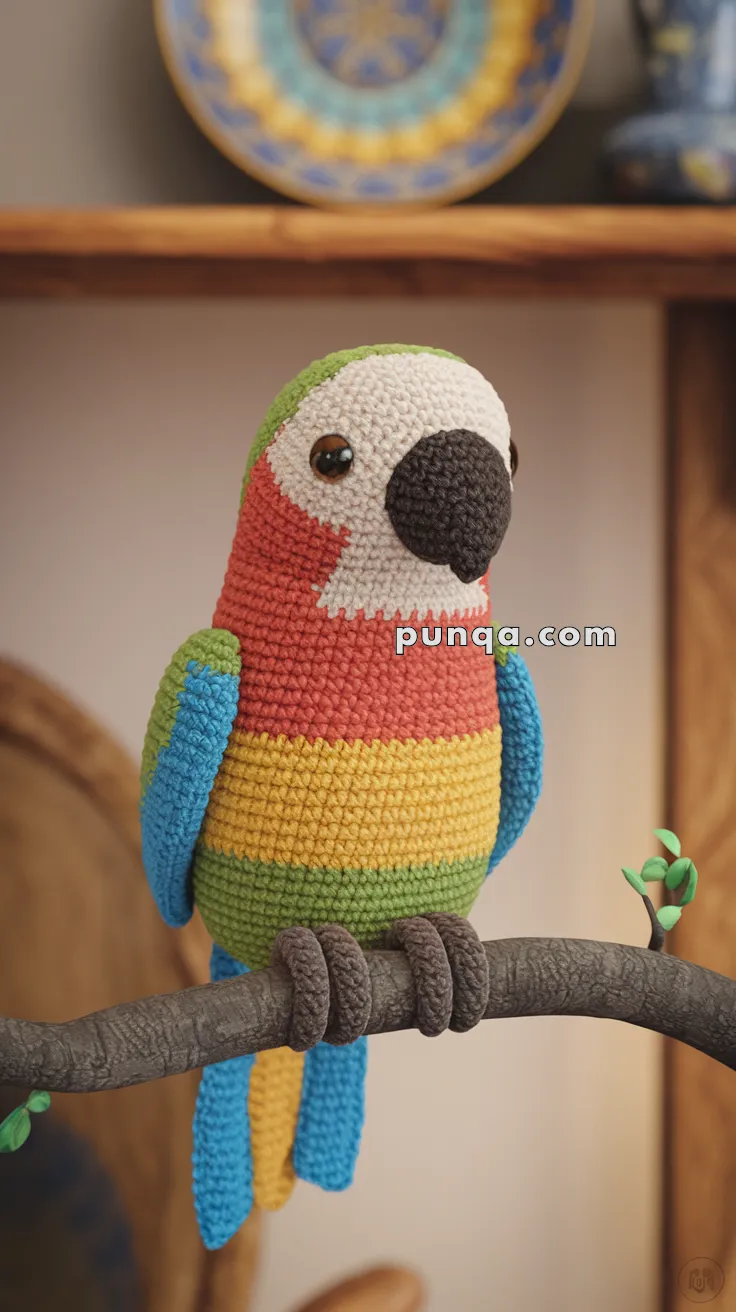
🦜 Amigurumi Colorful Parrot Crochet Pattern
Bring the tropics home with this vibrant parrot! With its bold rainbow plumage, big curious eyes, and perched pose, this amigurumi is a show-stopper. It’s a wonderful project for intermediate crocheters who enjoy colorwork and shaping.
✨ Skill Level
Intermediate – requires color changes, shaping, and sewing multiple pieces.
📏 Finished Size
Approx. 9–10 inches (23–25 cm) tall when made with worsted-weight yarn and a 3.5 mm crochet hook.
🧶 Materials
- Worsted-weight yarn in:
- Green (lower body, top of head)
- Yellow (belly)
- Red (neck)
- White (face patch)
- Black (beak)
- Blue (wings & tail)
- Brown (feet)
- 3.5 mm crochet hook
- 10–12 mm safety eyes
- Stitch marker
- Tapestry needle
- Polyfill stuffing
- Optional: floral wire for posable toes
🧵 Abbreviations (US Terms)
- MR – Magic Ring
- sc – Single Crochet
- inc – Increase (2 sc in one stitch)
- dec – Decrease (sc two together)
- ch – Chain
- sl st – Slip Stitch
- FO – Fasten Off
- BLO/FLO – Back Loop Only / Front Loop Only
🔵 Body & Head
Start with green:
- MR, 6 sc (6)
- inc x6 (12)
- (1 sc, inc) x6 (18)
- (2 sc, inc) x6 (24)
- (3 sc, inc) x6 (30)
- (4 sc, inc) x6 (36)
7–9. sc around (36)
Switch to yellow (belly):
10–14. sc around (36)
Switch to red (neck):
15–18. sc around (36)
Switch to white (front face) + green (back/top of head):
– Work in split color: place white across the front 18 sts, green across the back 18 sts.
19–21. Maintain split color section (36)
- (4 sc, dec) x6 (30)
- (3 sc, dec) x6 (24)
👉 Insert safety eyes between Rnds 19–20, ~7–8 sts apart in the white face area.
👉 Begin stuffing. - (2 sc, dec) x6 (18)
- (1 sc, dec) x6 (12)
- dec x6 (6)
FO and close.
🧡 Beak
With black:
- MR, 6 sc (6)
- (1 sc, inc) x3 (9)
3–4. sc around (9) - (1 sc, dec) x3 (6)
Stuff lightly, FO.
👉 Sew centered below the eyes.
💙 Wings (Make 2)
With blue:
- MR, 6 sc (6)
- inc x6 (12)
- (1 sc, inc) x6 (18)
4–12. sc around (18) – make longer than standard wing length - (2 sc, dec) x4, 2 sc (14)
14–15. sc around (14)
Flatten, FO.
👉 Sew to sides of body between red neck and yellow belly sections.
🟢 Tail Feathers
With blue, make 3 feathers in different lengths:
- Short Feather: MR, 6 sc, 2–6. sc around (6), FO.
- Medium Feather: MR, 6 sc, 2–10. sc around (6), FO.
- Long Feather: MR, 6 sc, 2–14. sc around (6), FO.
👉 Sew together in a fan shape and attach to lower back of body.
🟤 Feet (Make 2, each with 4 toes)
Each toe (brown):
- MR, 6 sc (6)
2–6. sc around (6)
FO.
👉 Make 4 toes per foot.
👉 Sew 2 toes facing forward, 2 toes facing backward to form a gripping perch.
👉 Optionally insert floral wire for bendable toes.
✂️ Assembly
- Sew beak firmly between the eyes.
- Attach wings at the sides in line with red/yellow transition.
- Attach tail feathers at the back.
- Sew toes at the base of the body, shaping around a perch or branch.
🌿 Finishing Touches
- Add light embroidery around eyes for expression.
- Position wings slightly downward for a natural resting pose.
- For display, place your parrot on a crocheted or wooden branch.
🎉 Final Result
Your tropical parrot is now complete! With its striking color transitions, bold beak, and perched pose, it’s sure to brighten up any room or collection. This vibrant bird makes a joyful handmade gift or a centerpiece for your own amigurumi menagerie.