Soft, cuddly, and full of love—this Amigurumi Valentine’s Day Teddy Bear crochet pattern is the perfect way to craft a heartfelt gift! With its gentle expression, tiny embroidered details, and adorable heart accents, this charming bear is ready to spread warmth and affection. Whether you’re making it for a loved one, a seasonal décor piece, or simply enjoy creating sweet amigurumi designs, this FREE pattern is a wonderful addition to your crochet collection.
Designed for intermediate crocheters, this pattern allows for customization in fur texture, heart placement, and even tiny accessories like a bow or scarf to enhance its personality. Choose classic red and pink hues for a traditional Valentine’s look or experiment with soft pastels for a dreamy aesthetic! Whether displayed as part of a romantic setup or gifted to someone special, this amigurumi teddy bear is sure to bring smiles. Grab your hook, select your favorite yarn, and let’s create a little bundle of love! 🧸❤️✨🧶
🧸 Amigurumi Valentine Teddy Bear Crochet Pattern
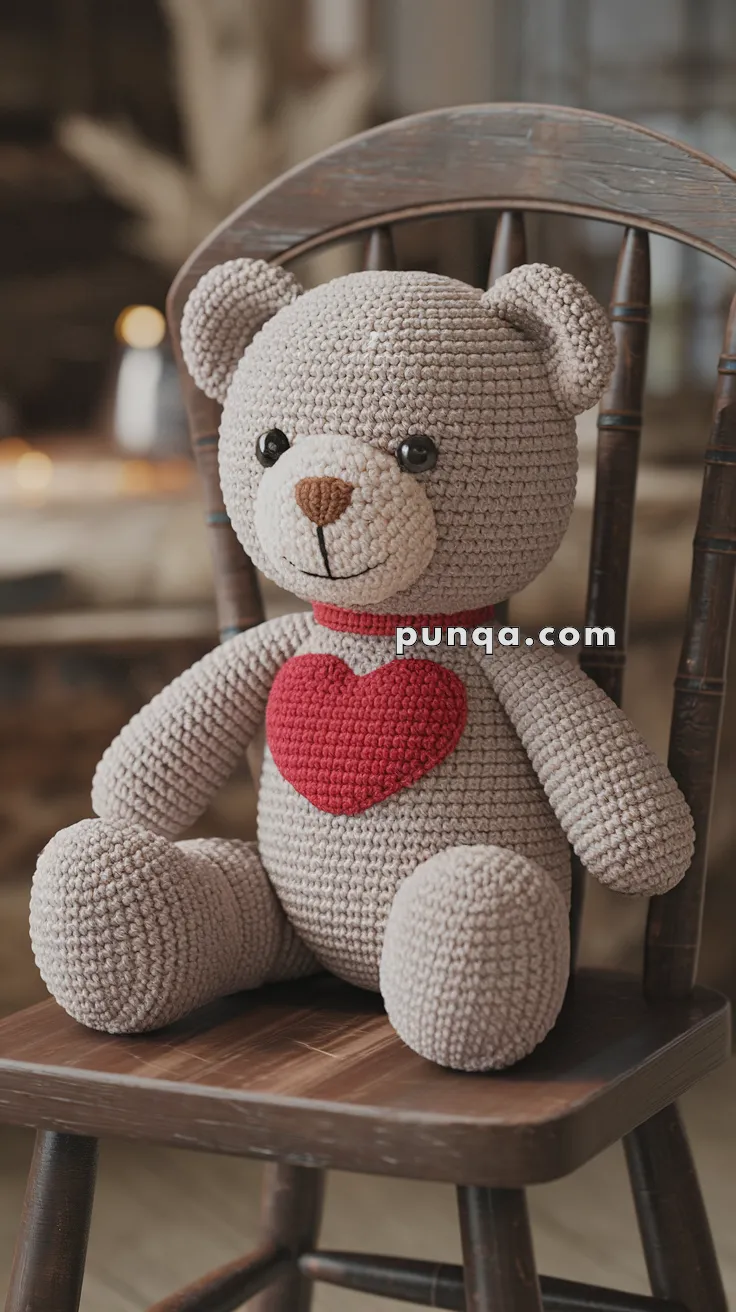
This cuddly Valentine Teddy Bear makes the perfect handmade gift for someone special. With its soft rounded shape, sweet face, and a big red heart on its chest, this bear brings warmth and charm to any occasion.
✨ Skill Level
Intermediate – includes shaping, muzzle attachment, facial embroidery, and appliqué assembly.
📏 Finished Size
Approximately 28–30 cm (11–12 inches) tall
Using worsted weight yarn and a 3.25–3.5 mm hook.
🧶 Yarn Requirements (Worsted Weight)
Taupe / Warm Light Beige (entire bear): 120–130 g
Cream (muzzle): 15 g
Red (heart + collar): 20–25 g
Medium Brown (nose embroidery): small amount
Black embroidery thread (mouth + eye accents): small amount
Polyester stuffing: 130–160 g
🧵 Materials
-
3.5 mm crochet hook
-
10 mm black safety eyes
-
Tapestry needle
-
Stitch marker
-
Fiberfill stuffing
🔤 Abbreviations (US Terms)
MR – magic ring
sc – single crochet
inc – increase (2 sc in same stitch)
dec – invisible decrease
sl st – slip stitch
ch – chain
FO – fasten off
Work in continuous rounds unless stated otherwise.
🧸 Bear Construction
🧠 Head (Taupe)
The head is large and softly rounded with full cheeks.
R1: MR 6 sc (6)
R2: inc x6 (12)
R3: (1 sc, inc) x6 (18)
R4: (2 sc, inc) x6 (24)
R5: (3 sc, inc) x6 (30)
R6: (4 sc, inc) x6 (36)
R7: (5 sc, inc) x6 (42)
R8: (6 sc, inc) x6 (48)
R9–18: sc around (48)
Insert safety eyes between Rounds 11–12, spaced 9 stitches apart.
R19: (6 sc, dec) x6 (42)
R20: (5 sc, dec) x6 (36)
R21: (4 sc, dec) x6 (30)
R22: (3 sc, dec) x6 (24)
R23: (2 sc, dec) x6 (18)
Stuff very firmly, shaping cheeks evenly.
R24: (1 sc, dec) x6 (12)
R25: dec x6 (6)
FO and close.
🐽 Muzzle (Cream)
The muzzle is slightly oval and softly raised.
R1: MR 6 sc (6)
R2: inc x6 (12)
R3: (1 sc, inc) x6 (18)
R4: (2 sc, inc) x6 (24)
R5–6: sc around (24)
R7: (2 sc, dec) x6 (18)
Stuff lightly — it should remain rounded but not bulky.
Flatten top edge slightly before sewing.
Attach centered between the eyes, positioned lower to create a gentle expression.
👃 Nose & Mouth
Using medium brown yarn:
-
Satin stitch a vertical oval nose at the top center of the muzzle.
-
With black embroidery thread, stitch a short vertical line down.
-
Add a soft curved smile extending slightly upward at the ends.
Keep the smile subtle and balanced.
🐻 Ears (Make 2 – Taupe)
Rounded and slightly cupped.
R1: MR 6 sc (6)
R2: inc x6 (12)
R3: (1 sc, inc) x6 (18)
R4–5: sc around (18)
R6: (1 sc, dec) x6 (12)
Lightly stuff lower half only.
Flatten base gently and sew to upper sides of head, angled slightly forward.
🧍 Body (Taupe)
The body is round with a wider belly for sitting balance.
R1: MR 6 sc (6)
R2: inc x6 (12)
R3: (1 sc, inc) x6 (18)
R4: (2 sc, inc) x6 (24)
R5: (3 sc, inc) x6 (30)
R6: (4 sc, inc) x6 (36)
R7: (5 sc, inc) x6 (42)
R8–18: sc around (42)
R19: (5 sc, dec) x6 (36)
R20: (4 sc, dec) x6 (30)
R21: (3 sc, dec) x6 (24)
Stuff firmly, especially the lower belly.
R22: (2 sc, dec) x6 (18)
FO leaving long tail.
Sew head securely to body.
💪 Arms (Make 2 – Taupe)
Arms are gently tapered and relaxed.
R1: MR 6 sc (6)
R2: inc x6 (12)
R3–12: sc around (12)
R13: (2 sc, dec) x3 (9)
R14: sc around (9)
Stuff lightly toward bottom only.
FO and sew at upper body sides, slightly angled downward.
🦵 Legs (Make 2 – Taupe)
Legs are large and rounded at the front for the seated pose.
R1: MR 6 sc (6)
R2: inc x6 (12)
R3: (1 sc, inc) x6 (18)
R4: (2 sc, inc) x6 (24)
R5: (3 sc, inc) x6 (30)
R6–8: sc around (30)
R9: (3 sc, dec) x6 (24)
R10–14: sc around (24)
Stuff very firmly.
Flatten the top slightly before sewing to lower front body.
Angle outward slightly so the bear sits naturally.
❤️ Heart (Red)
Full, rounded heart with smooth curves.
First Top Bump
R1: MR 6 sc
R2: inc x6 (12)
R3: (1 sc, inc) x6 (18)
R4: sc around (18)
FO.
Second Top Bump
Repeat R1–R4 but do not fasten off.
Join both bumps:
R5: sc around both pieces (36)
R6: (4 sc, dec) x6 (30)
R7: (3 sc, dec) x6 (24)
R8: (2 sc, dec) x6 (18)
R9: (1 sc, dec) x6 (12)
R10: dec x6 (6)
Lightly stuff before final closing.
Flatten gently and sew centered on the chest.
🧣 Collar (Red)
Ch 34 (adjust for snug fit)
Row 1: sc across
Row 2: sc across
FO and sew around neck seam neatly.
✨ Final Shaping
-
Press cheeks gently for fullness.
-
Adjust ears for symmetry.
-
Ensure legs create stable seated position.
-
Keep heart centered and flat.
🧸 Finished Bear
This teddy features:
-
Large rounded head
-
Soft cream muzzle
-
Brown oval nose
-
Gentle embroidered smile
-
Plump seated body
-
Oversized rounded feet
-
Clean red heart centerpiece
-
Simple red neck collar
Your Valentine Teddy Bear is ready for gifting and cuddling! This adorable companion makes a beautiful keepsake full of handmade love. 💕